Notes on minikube and (wireguard) VPNs
Over the last few months, I’ve been relocating all my development activites on a remote devserver. The benefits have been numerous:
- When roaming I only need a tiny bit of bandwidth for ssh, and I can do all the
git clone,docker pullfrom a machine with a stable and large bandwith - It’s easier to backup
- It’s easier to collaborate (no need for annoying tunnel solutions to share my work)
- It uses less power on my machine, slighly increasing my laptop battery life
Sadly, many development tools do not accomodate very well yet for this use case, as they very often only expose services to localhost. If it largely makes sense in the general case, it’s a bit annoying when you develop remotely.
One of such tool is minikube, which doesn’t provide a way to expose the
deployed service externally. I understand they really want to prevent people
from using it to serve production traffic.
In the present article, I’ll share a few notes on how a Wireguard VPN and a few Iptables rules will allow you to expose the minikube host to the client machine, using minikube’s kvm2 driver and libvirt
First step: Wireguard VPN
I’ve elected to use Wireguard to provide me with the tunnel to my devserver network, but it would likely work similarly with any VPN solution (OpenVPN, StrongSWAN’s IPSec, etc). Despite not being extremely well documented, Wireguard is fairly simple and straightforward.
I advise you to go the the Wireguard website to find more.
Install
As I refuse to upgrade my macOS to the latest version (it breaks TotalSpace and I do not support the notarization requirement they introduced), I wasn’t able to use the app they ship via the App Store. So instead I’ve:
- Installed wireguard-tools via homebrew:
brew install wireguard-tools - Installed macos-menubar-wireguard to control my tunnels
On my devserver, I used the distribution package: apt-get install wireguard
Key generation
On both machine, run the following commands to generate the key pairs:
# As root. Use /usr/local/etc if on mac
mkdir -p /etc/wireguard/keys && cd /etc/wireguard/keys
wg genkey | tee privatekey | wg pubkey > publickey
chmod 600 privatekey publickey
Server config
Here’s my server /etc/wireguard/wg0.conf
[Interface]
PrivateKey = [the content of the devserver private key file]
# Update the address and port to your liking
Address = 172.27.0.254/32
ListenPort = 999

PostUp = iptables -A FORWARD -i %i -j ACCEPT; iptables -A FORWARD -o %i -j ACCEPT; iptables -t nat -A POSTROUTING -s 172.27.0.0/16 -j MASQUERADE
PostDown = iptables -D FORWARD -i %i -j ACCEPT; iptables -D FORWARD -o %i -j ACCEPT; iptables -t nat -D POSTROUTING -s -s 172.27.0.0/16 -j MASQUERADE

# The client config
[Peer]
PublicKey = [the content of the client public key file]
# Update the client address liking, keep it in the same range as the server ip above
AllowedIPs = 172.27.0.1/32
You can then use systemctl to enable it at boot time and start it
systemctl enable wg-quick@wg0.service
systemctl start wg-quick@wg0.service
It’s worth noting that you’ll need to enable ip forwarding in sysctl at least for the tunneling device. You can enable it globally with
sudo sysctl net.ipv4.conf.all.forwarding=1
Client config
Here’s my client /usr/local/etc/wireguard/wg0.conf:
[Interface]
PrivateKey = [replace with the content of your client private key]
# Update the address and dns addresses to your liking
Address = 172.27.0.1/32
DNS = 1.1.1.1, 1.0.0.1

[Peer]
PublicKey = [replace with the content of your devserver public key]
# Update according to your setup
Endpoint = devserver-hostname-or-public-ip:devserver-wireguard-listen-port
# If you're client is behind a NAT, which is likely
PersistentKeepalive = 25
# In this context, AllowedIPs is the list of addresses that will be routed
# through this tunnel. You can use `0.0.0.0/0` to route all the client traffic
# through your devserver. Or only a few networks, like the minikube network
# (192.168.42.0/24)
AllowedIPs = 0.0.0.0/0
# AllowedIPs = 192.168.42.0/24, 172.27.0.0/16, 172.17.0.0/16
To start it, you can use the wireguard menubar mentionned earlier, or the command line tools:
- Create the tunnel with:
wg-quick up wg0 - Kill it with:
wg-quick down wg0
Testing
From your local machine, you should be able to ping the IP you selected for the
devserver side of the tunnel, in my case 172.27.0.254
$ ping 172.27.0.254
PING 172.27.0.254 (172.27.0.254): 56 data bytes
64 bytes from 172.27.0.254: icmp_seq=0 ttl=64 time=96.572 ms
64 bytes from 172.27.0.254: icmp_seq=1 ttl=64 time=91.428 ms
64 bytes from 172.27.0.254: icmp_seq=2 ttl=64 time=88.648 ms
64 bytes from 172.27.0.254: icmp_seq=3 ttl=64 time=85.733 ms
^C
--- 172.27.0.254 ping statistics ---
4 packets transmitted, 4 packets received, 0.0% packet loss
round-trip min/avg/max/stddev = 85.733/90.595/96.572/3.995 ms
You can also get some info about the tunnel status using the wg command:
$ sudo wg
interface: wg0
  public key: my_public_key
  private key: (hidden)
  listening port: 999

peer: peer_public_key
  endpoint: 37.165.x.x:18500
  allowed ips: 172.27.0.1/32
  latest handshake: 35 seconds ago
  transfer: 272.86 MiB received, 4.07 GiB sent
Here are a few things to check if the ping doesn’t succeed:
- Wireguard logs: do they show any error or warning
- Wireguard routing config: Is the devserver tunnel ip is in the range of the AllowedIPs in the client config ?
- Your firewall rules:
- Can you connect to wireguard listenport on the public IP of your devserver ?
- Does your firewall rules allow forwarded content from the tunnel interface and network ?
Second step: Minikube w/ kvm2
I’m using minikube with the kvm2 driver to have a local development cluster. My goal is to be able to reach my services NodePorts from my client machine.
To do that, I create a dedicated network in libvirt using vcsh, ask minikube to attach the kubernetes host to this network and add a few iptables rules to break the virtual machine isolation, allowing my client to reach it via the VPN tunnel.
Creating the network
The following xml file contains the configuration of the network:
<network connections='1'>
  <name>vpn-access</name>
  <forward mode='nat'/>
  <bridge name='virbr42' stp='on' delay='0'/>
  <mac address='52:54:00:2c:23:42'/>
  <!-- This is the IP of the router/bridge in the virtual network -->
  <ip address='192.168.42.254' netmask='255.255.255.0'>
    <dhcp>
      <!-- This network will only have the minikube machine so the dhcp range only
      contains one IP, this way we don't have to lookup the lease to find the
      kubernetes IP -->
      <range start='192.168.42.1' end='192.168.42.1'/>
    </dhcp>
  </ip>
</network>
The network can be created with the following commands:
sudo virsh net-define /path/to/the/file.xml
sudo virsh net-autostart vpn-access
sudo virsh net-start vpn-access
We launch these commands as root because minikube use the
qemu:///systemdomain
Starting minikube
When creating minikube, the following options must be added in order for the minikube host to be created with libvirt/kvm and attached to our network:
--driver=kvm2--kvm-network=vpn-access
Example:
minikube start \
        --cpus=2 --memory='6g' --disk-size='20g' \
        --driver=kvm2 --kvn-network=vpn-access
Routing and firewall
We need to allow forwarded traffic to the minikube created virtual machine. So we’ll have to prepend a rules into libvirt’s tables:
sudo iptables -I LIBVIRT_FWI -d 192.168.42.1 -j ACCEPT
It’s worth noting that this also works because in wireguard we’ve adding a masquerading rule for all traffic coming from the the vpn network (
iptables
-t nat -A POSTROUTING -s 172.27.0.0/16 -j MASQUERADE
)
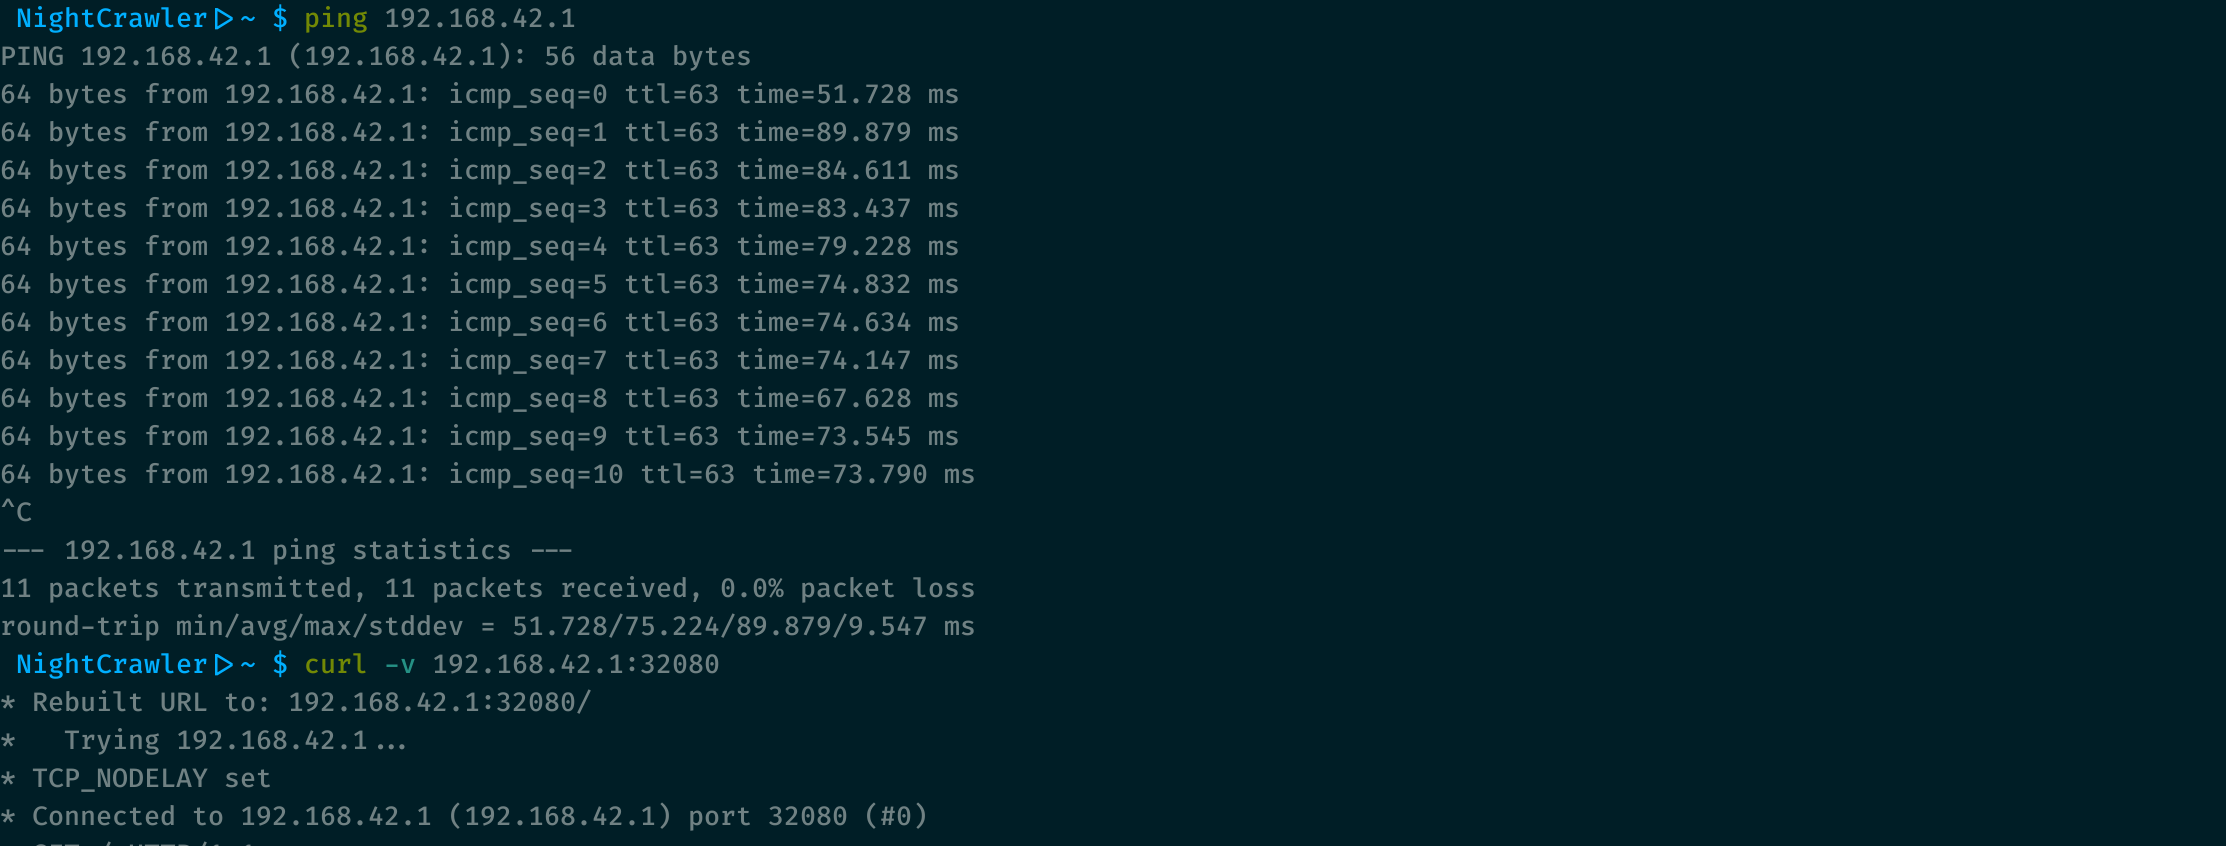
Testing / Using
The virtual machine should now be accessible from the devserver and the client machine:
$> ping 192.168.42.1
PING 192.168.42.1 (192.168.42.1) 56(84) bytes of data.
64 bytes from 192.168.42.1: icmp_seq=1 ttl=64 time=0.265 ms
[...]
You can now access your kubernetes services via their NodePorts. It is a good idea to specify the NodePorts in the service definition to prevent random allocation in the development environment. Still the NodePorts of a service can be retried with kubectl:
$> kubectl get svc -n traefik
NAME      TYPE       CLUSTER-IP    EXTERNAL-IP   PORT(S)                                                                                  AGE
traefik   NodePort   10.98.35.11   <none>        80:32080/TCP,443:32443/TCP   3d18h
$> curl http://192.168.42.1:32080/
[...]